

We have always assumed that we would cane the seats of the canoe instead of using canvas or plastic. It’s simply good aesthetics. If you just wanted a canoe, any old canoe, you can buy a Coleman 16 foot at Walmart. If you’re building a cedar strip canoe, then you are thinking about craft and appearance.
There was a small bit of debate about caning methods: weaving by hand or via pre-woven mat. Janell wanted to try hand-caning, so that was our choice.
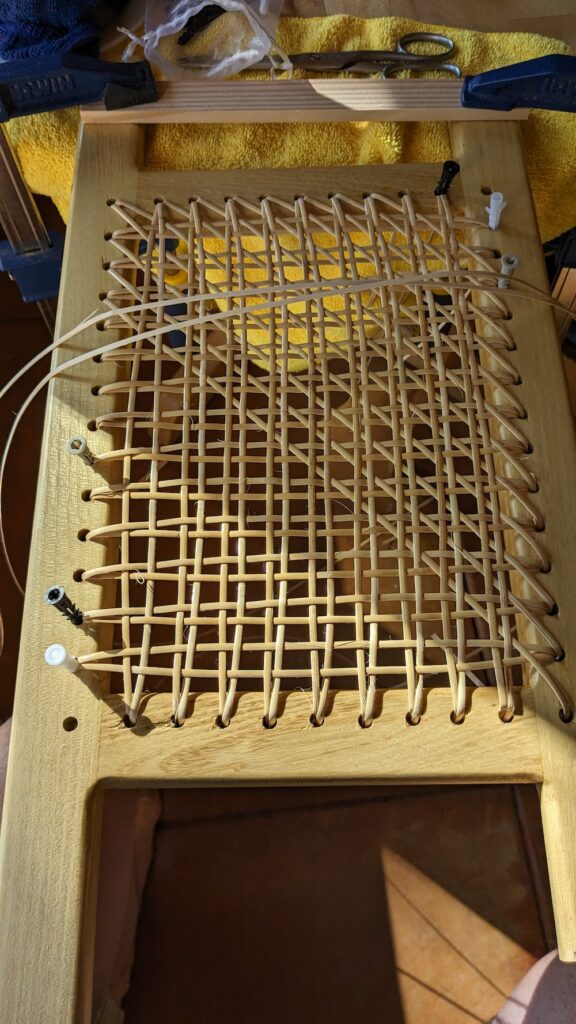
Caning is like weaving. You follow a pattern back and forth, corner to corner, side to side. It’s something like a spirograph in that the pattern emerges as the caning proceeds.
Of course, much needs happen before Janell starts to weaving…
Building Seats
Matthew and I built the seat frames. It’s simple; cut four sticks of wood then screw them together. Then use a router to round the edges so the cane doesn’t fray. Plug the holes to hide the screws. Varnish, sand, varnish, sand. All of that takes time if you’re being careful. And we ARE being careful.
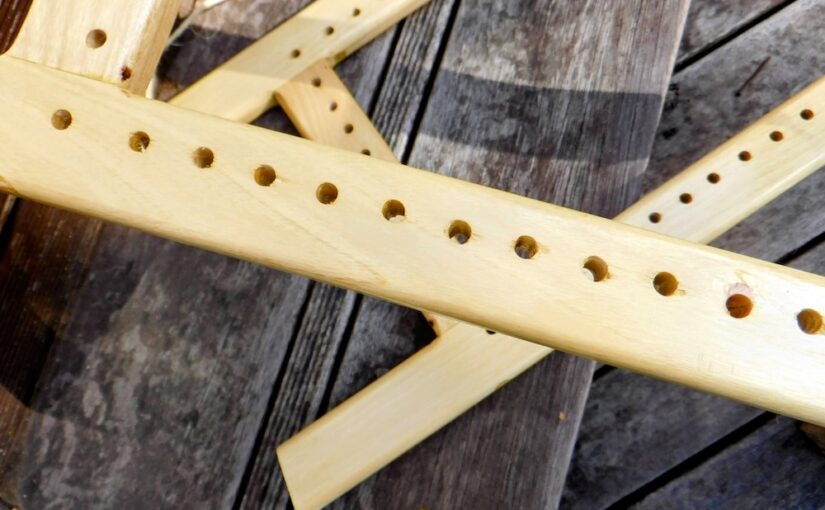
The tricky part is drilling holes for the caning. Ideally, these holes are perfectly spaced around the seat. Opposing sides have equal numbers of holes that line up in parallel. Consistently placing holes from the edge and ensuring that they all line up is important.
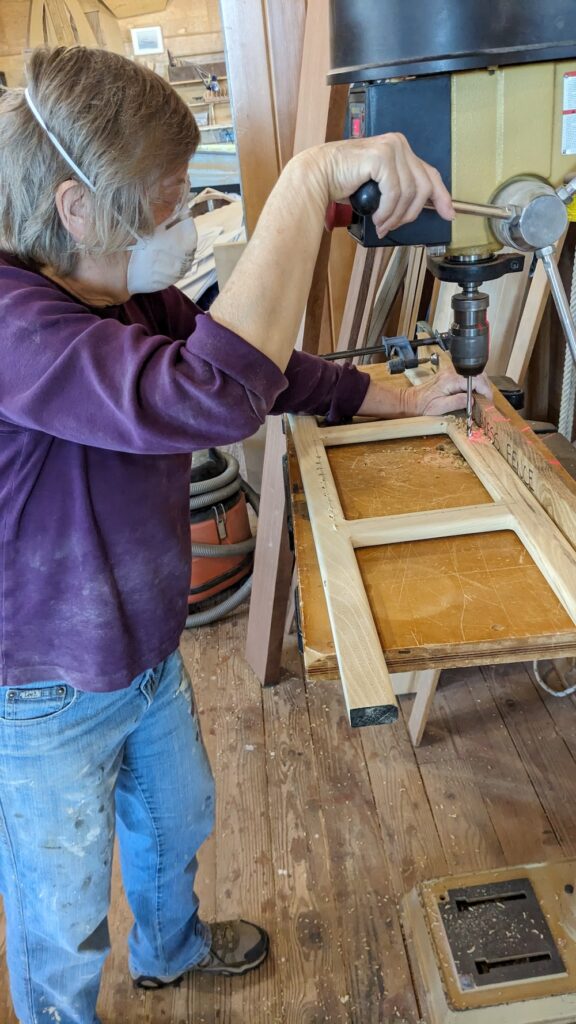
This requires a drill press and a jig. The more jig, the better. We clamped a board to the table to ensure the placement was correct. Our drill press had a laser sight that showed the exact location of the intended hole. With this going on, it would seem to be a cinch to do this accurately.
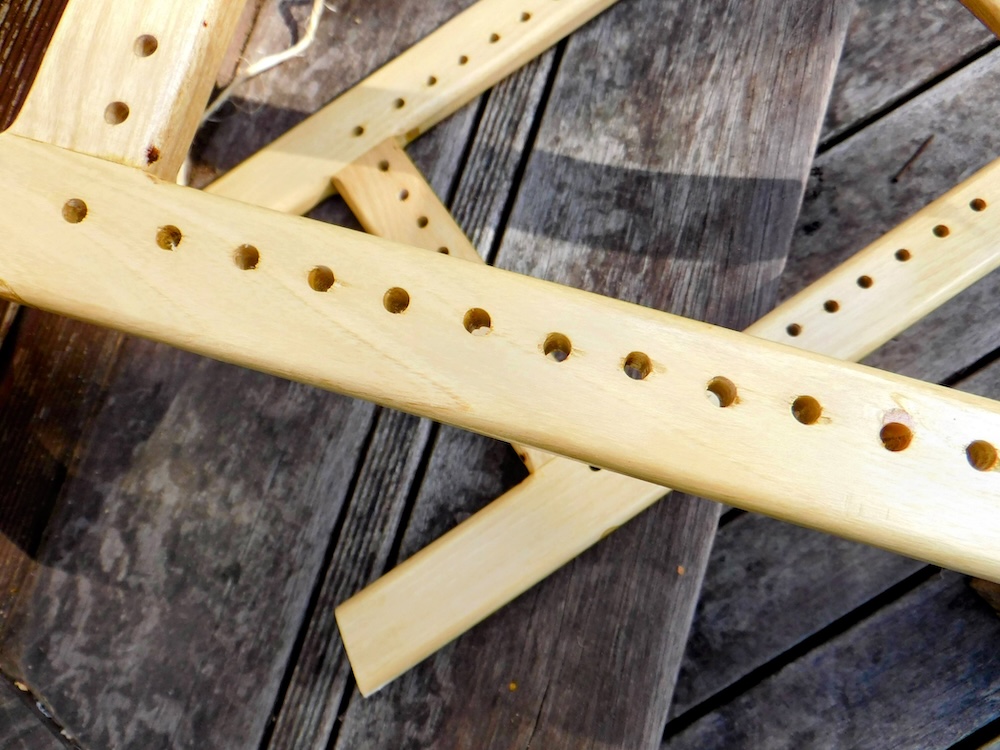
However…the seats are made of black locust – a hard wood. The drill bit hits the wood and walks; it actually flexes a small amount, and as a result, each hole has a small variance. It’s one more imperfection we overlook.
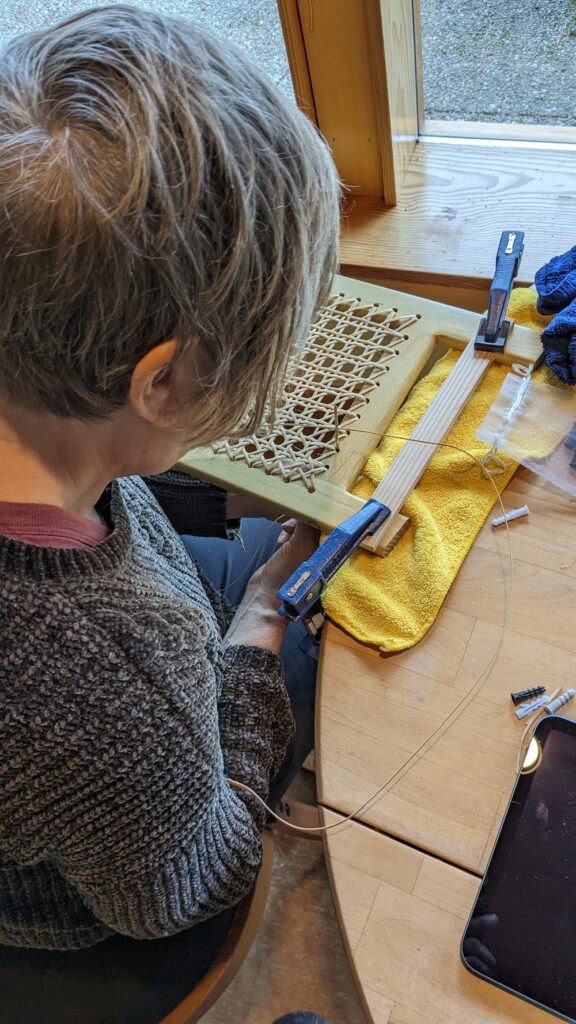
Janell learned the caning pattern from The Wicker Woman on youtube and ordered caning. Our friend invited us to a weekend at her cabin on Guemes Island. Janell brought her seat project along and found a space in front of a scenic window. She finished the two seats in two days.

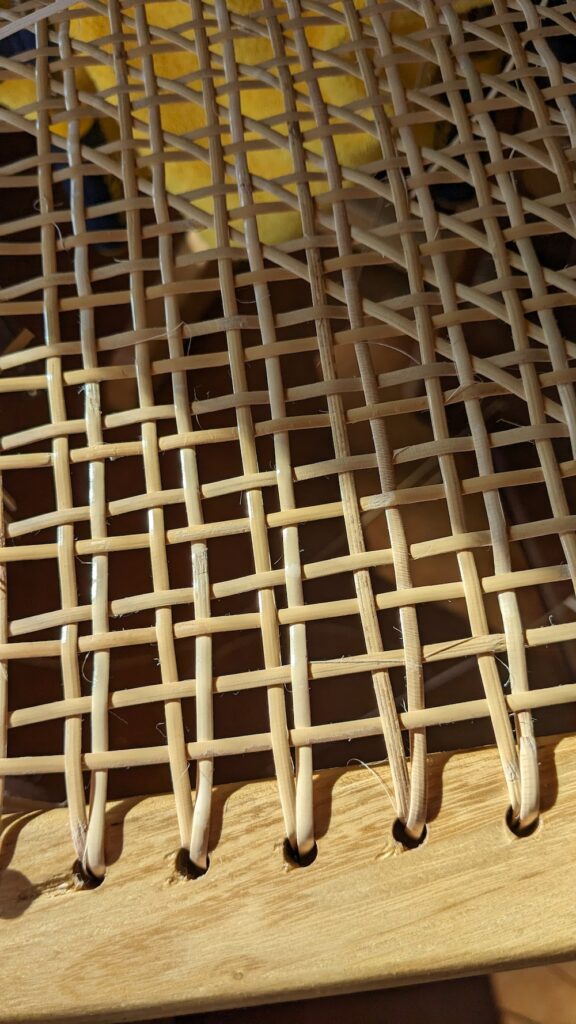
Caning seats is a popular topic for conversation at parties. Many people assume it is much more difficult than it actually is. It is a beautiful craft and our friends oooh and aaahhh when we bring the seats out for their admiration.
Installing Seats
My son is a fine carpenter and will tell you, lovingly, that I am solidly in the camp of “good enough.” My woodworking tolerance is within an eighth of an inch (his is somewhere between 1/16 and 1/32).
When you install drywall, you can confirm the presence of a stud by drilling small holes in the drywall until you hit something substantial. You can patch and sand those small holes, and they won’t be visible in the final wall.
Installing seats in the canoe means drilling holes in the gunnels. Drilling each hole creates visible evidence of my intent. I can fill the mistake with wood putty – but it will still be visible. I have to up my game if I’m going to do justice to the beauty of the boat, and this makes me nervous.
While in Port Townsend, we installed reinforcements along the gunnel for seats and the yoke. I’m thankful for this, as it removes the need for me to worry about how far along the canoe to place these seats.
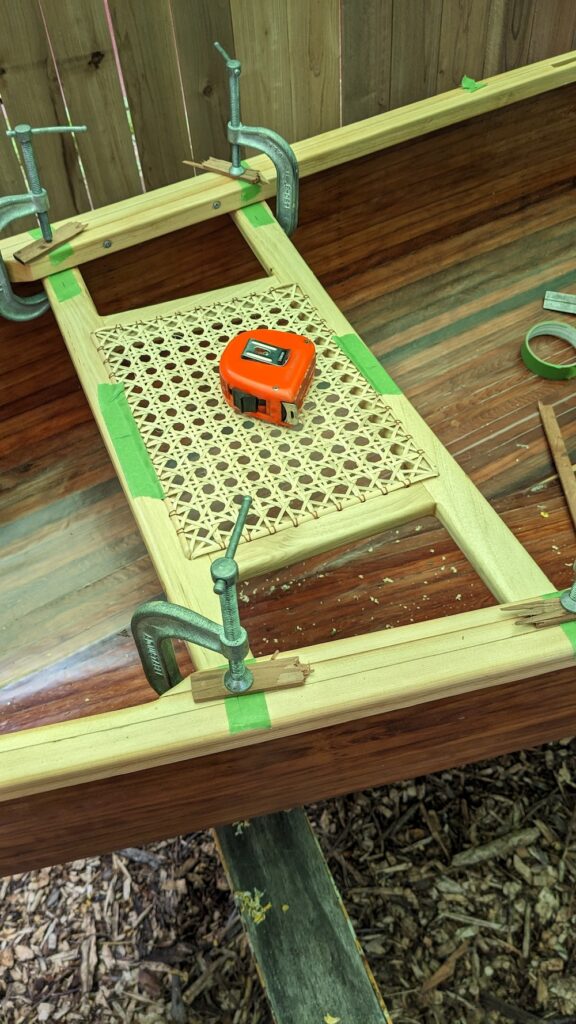
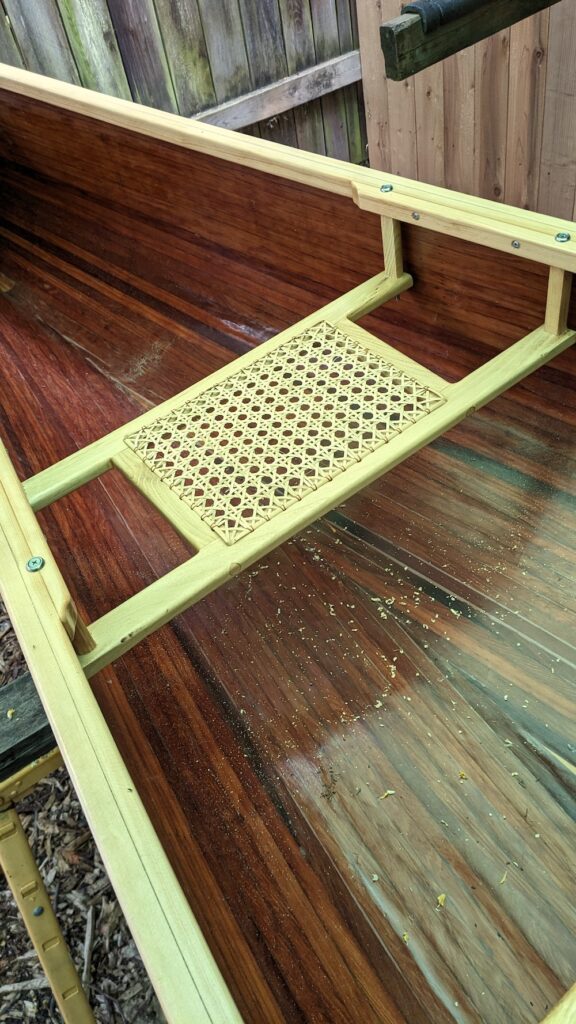
The green stripes in this photo are masking tape I have used to mark centerlines and places for holes to drill. I clamp the seat to the gunnel, then use a tape measure to ensure the seat is “square” to the boat. At least, as square as you can get with a boat that has no right-angles.
I measure from the tip of the bow to the front of the seat, both left gunnel and right gunnel; they MUST be the same. I check the width of the gunnel at the point I will drill; the holes MUST be centered along the reinforcements. I confirm that the holes in the gunnel will match the holes in the seat.

I also want the holes to be square to the top of the gunnels. The bolts will have some tolerance to make it to the seat below and I may be overly-concerned. But I inherited a dowling jig from my dad and since I have it, I should use it.
I run the tape measure again, take a breath, and drill four holes for the seat. I’m moving slowly and deliberately and it takes one day per seat. Thankfully, everything lines up. phew.
The seat hangs about three inches below the gunnel and keeps our center of balance low. You can see the spacers between the seats and the gunnel in this picture. Each wood spacer has a hole drilled through the center; a bolt goes from the top of the gunnel, through the spacer, then through the seat.

I repeat the process for the stern. I am rewarded for my paranoia with two “perfectly” placed seats.
Janell and I are getting itchy to put this canoe in the water.
But not yet….